Showing posts with label candy. Show all posts

1/16/15

Foodie Friday -- MAG's Silky Pecan Pralines

A few years ago I made a couple of different pecan praline recipes--YUCK!

The problem that I had with these candies was that every single recipe resulted in a grainy candy that felt like you were eating sand.  Not good.

This year, my hubby was given a gift box of pecan pralines from one of his vendors . . . It was incredible. Smooth, almost dough-like, the praline melted in my mouth. THIS was exactly what my version of pecan pralines would be.

Now all I had to do was recreate it.

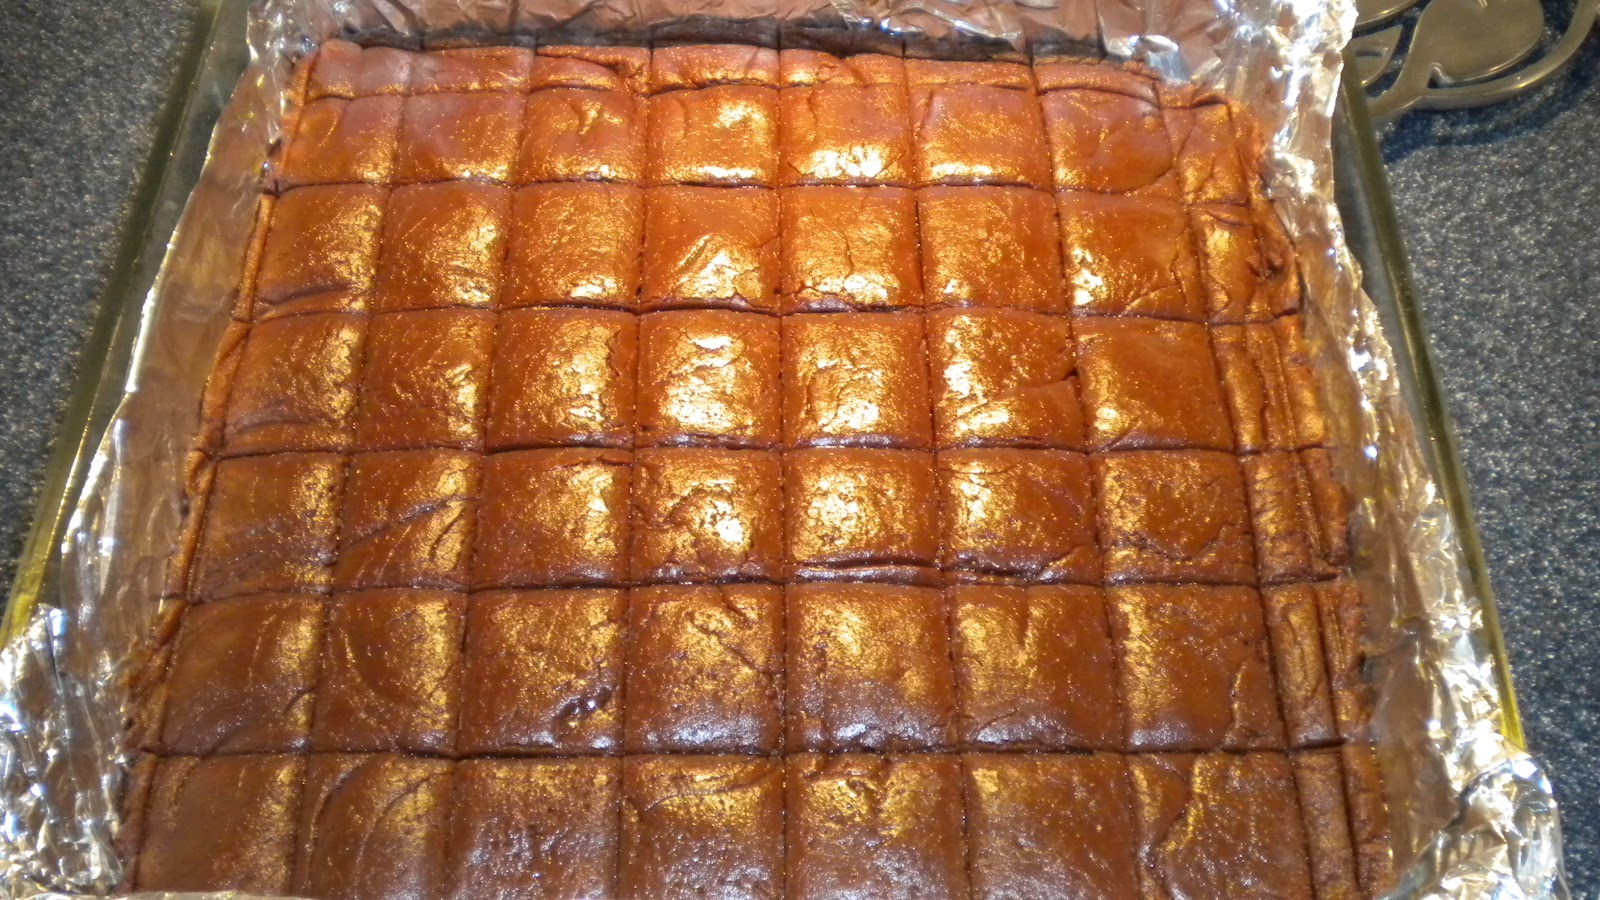
This recipe is the result of my first experimental foray. It's good, in fact, it's really good, but it wasn't exactly the result that I was personally aiming for. I will say that this version is very, very sweet, with the texture similar to the texture of MAG's Decadent Fudge--super smooth and creamy.

Not the best picture, but you get the idea
 
Here's my first recipe version of Pecan Pralines and in the tips and tricks part of my recipe I'll let you know what I plan to do for my second version of this candy {or notes in red}.

MAG’s Silky Pecan Pralines


2 cups dark brown sugar, packed
1 cup sugar
1 cup cream
2 tsp. honey {molasses}
½ tsp. kosher salt {1 tsp.?}
2 Tbls. butter
1 tsp. vanilla
1 ½ cups pecans, chopped {3 cups toasted, chopped pecans}

Combine sugars, cream, salt and honey in medium saucepan over medium heat. Stir until sugars are dissolved. Increase heat to medium-high, insert candy thermometer and cook until mixture reaches the soft ball stage at 236 degrees.

Pour mixture into buttered glass bowl. Dot with butter and splash vanilla on top. Place clean candy thermometer in mixture. Let cool to 110-118 degrees, about 45-60 minutes.

Once candy has cooled, using an electric mixer, beat the mixture until it lightens in color and creamy, about 4-5 minutes. Stir in chopped nuts.

Place a large sheet of parchment paper on counter. Using a cupcake batter/cookie scoop, quickly scoop onto paper. Press down slightly and allow to cool. Store in air tight container.

 Tips & Tricks:

 
·         The one thing that most people forget to bring to the table when making candy is PATIENCE. That is the number one ingredient.

·         And let me mention that ‘time’ laughs at you when making candy—it seems to take FOREVER to reach the appropriate temperature, but when you look away for two seconds, it has already zipped past the appropriate temp into another stage, or boiled over. No, this didn’t happen to me this time, but it doesn’t mean it won’t happen in the future.

·         If you do have a candy catastrophe, remember the hardened sugar mess dissolves in water. Don’t freak out and start scrubbing away, just place hot water on the mess and let it do its job, repeat as often as needed to remove the mess or clean the pan.

·         Invest in more than one good candy thermometer—I love my new digital one. Periodically check them for accuracy. Many thermometers are simply attached to a piece of cardboard inside a glass tube. It can shift.

·         How do you check the accuracy??  Boiling water. We all know that boiling water is 100 degrees centigrade, right? Simply fill a large pan full of water, place your thermometers along the edge, and bring to a rolling boil. Check your numbers. Make sure the thermometers are NOT touching the bottom of the pan as it will skew the results.

 Enjoy!

11/22/13

Foodie Friday -- Heart Attacks

When my hubby and I were in Canada this last September, we ran across these monster candies they called Murtles. I'm guessing that they are basically a Mongo Turtle . . . with salted peanuts. Those things were at least six inches in diameter . . . yes, we shared.
Final version

The bottom layer was milk chocolate, with a layer of salted peanuts, a layer of caramel and then topped off with a dollop of chocolate.

So I decided to make them myself.

Here's a picture of my first batch. These measured about 3 inches in diameter.
 
And I didn't name them, my daughter did.

She loves them! How can you not love chocolate, caramel and peanuts?  Well, unless you have a peanut allergy, then these should be called Anaphylactic Shock.
 
A couple of things I would do differently for my next batch:
  1. I used a cookie scoop to measure and spread my first layer of chocolate. I would spread them out a little bit more to give them a thinner base. Once these things set, they became very hard. I used Merken's chocolate wafers, but you could use any kind of pre-tempered chocolate.
  2. I bought a huge container of salted peanuts from Sam's club for $8 and used a coffee scoop to try to get the same amount of peanuts on each chocolate layer. I still have a lot of peanuts and I hope they don't go bad. I may weigh and freeze them in one pound batches for use later.  
  3. More caramel. I skimped a little on the caramel because I wanted the peanuts to show. I used a cookie scoop for this layer too. I would just add a little more. Yes, I made my own caramel--recipe to follow. I froze the left overcaramel, but will just heat it up on the stove to melt it enough to make it liquid.
  4. I'd make the top layer of chocolate a little larger.  
Try making some of your own. It's easy.
 
Okay, I promised a caramel recipe. This recipe was originally a Land O Lakes butter caramel recipe that I made last year. Since I tend to use heavy cream, the mixture was too oily when I used the full amount of butter. It was also too bland. The original recipe didn't have salt in it, so I added Kosher salt.
 
Everyone will tell you that salt is salt, well, it isn't. I find regular iodized table salt to be too harsh for some caramel recipes, so I use the Kosher flake salt. It's milder and blends nicely.  
 
This is also a 'soft' caramel, which means it doesn't cook as long or to a higher temperature, which would firmly set the caramel to make it easy for dipping. Many people will cut this caramel up and wrap it in waxed paper to give away to friends and family.
 
Soft Caramels
2 cups sugar
1 cup dark brown sugar, packed
3/4 cup (3 sticks) butter
1 cup heavy cream
1 cup half and half
1 cup dark corn syrup
2 tsp. Kosher salt
1 tsp. vanilla

Prepare a 9 X 9 pan (line with parchment and spray with Pam), set aside.

Combine all ingredients in heavy 4-quart saucepan. Cook over medium heat until butter is melted, stirring constantly. Increase heat slightly until mixture comes to a boil. Continue cooking, stirring occasionally, until mixture reaches 244 degrees on candy thermometer, about 30 minutes.

Remove from heat. Stir in vanilla. Pour into prepared pan.

---I cooled this mixture slightly before I ladled it over my peanuts. I wanted it warm enough to flow when it hit the colder peanuts, but not so hot it melted the chocolate on the bottom.

Let the caramel set. Either wrap it, dip it or freeze it until needed. . . . yes, you can just scoop and eat, too!

Enjoy!

Later, Peeps!


9/20/13

Foodie Friday -- Dark Chocolate Whiskey Caramels

First, I want to let y'all know that I'm working on my Universal Florida/Disney World wrap-up. I thought I could get the Universal one written and posted yesterday, but there is simply too much information. I'll be working on it this weekend and will start posting the blogs on Monday.


That said, I've also been making caramel . . . and receiving various "I hate you!" comments on Facebook when I post my innocuous comments like:

Mmmmm . . . making Dark Chocolate Whiskey caramels . . . with sea salt . . .

How is it my fault that everyone starts drooling?

Originally, I found this recipe on Epicurious.com, but as y'all know me, I made a few changes. Most of the time I like to look at recipes for the 'backbone' ingredients and then I mess with it.

Dark Chocolate Whiskey Caramels with Sea Salt

2 cups heavy cream
11 oz. bitter- or semi-sweet chocolate (I used a mixture of Ghiradelli and Nestles morsels)
1 3/4 cup sugar
1/2 cup honey (corn syrup)
1/4 cup Devil's Cut whiskey (water)
1/4 tsp. salt
3 Tbls. butter, cut into cubes
Flaky sea salt

Press parchment into 8-inch square pan, folding excess in the corners. Spray with cooking spray, set aside.

In small saucepan (2 quart size), heat cream until simmering, turn off and add chopped chocolate. Let stand a minute for the chocolate to melt, then stir to incorporate.

In a very large saucepan (4 quart), bring sugar, honey, whiskey, and salt to a boil over medium-high heat until the mixture reaches 255 degrees on a candy thermometer, or until it becomes a nice golden brown, stirring occasionally to incorporate the sugar on the sides of the pan, about 15 minutes.

 Slowly add the chocolate/cream mixture to the caramelized sugar, mixture will bubble vigorously. Cook, and stir often until mixture reaches 255 degrees on a candy thermometer (15-30 minutes). Add butter, stir until melted. Pour into prepared pan.

After cooling 10 minutes, sprinkle sea salt on surface. Allow to cool until solid, 4-6 hours.

Tips & Tricks:
  • You can use corn syrup instead of honey, actually corn syrup was called for in the recipe.  I prefer honey because it adds an additional level of flavor to the end product
  • I used the whiskey instead of the water. I don't think there was much of an enhancement, so I might double the whiskey next time. The excess liquid will evaporate leaving more of a flavor punch
  • I followed the two pan method the first time I cooked this recipe, but I want to make it using only one pan. I'll have to let you know how it goes.
  • I probably won't use the Nestles morsels again. They didn't really melt into the cream and it wasn't until the temperature became really hot did they actually melt. Something about the way Nestles' processes them to keep their integrity while baking in cookies.
  • Of course, they suggest 'fine-quality', but we all know that's hokum. You don't have to spend a ton of money just to make caramel! I happen to have the Ghirardelli for my fillings, but try Baker's chocolate or another comparable product.
  • I did use parchment paper in my 8-inch square pan, but you can use foil. Try to get a heavier gauge of foil as it makes peeling it off the caramel easier.
  • No matter what you use to line your pan--butter it or spray it with PAM or something of this kind to make it easier to remove.
  • I 'know' how other recipes tell you to use a wet pastry brush to brush down the sides of the pan, or do not scrape--THIS IS CRAP! You do NOT have to do this if you stir to incorporate the sugar that forms on the sides as you heat the mixture. I always scrape down the sides as I cook and I haven't had a crystallization problem yet. You just have to keep doing it throughout the cooking process.
  • When bringing the caramel up to temperature, the texture will change from loose open bubbles to lava burping. Keep stirring to keep it from burning.
  • Be careful: Caramel at this stage is like napalm when it hits your skin--it will attach and keep burning. If you get spattered by caramel, place under cold water to melt the sugar off. Do not try to 'peel' the caramel from your skin . . . been there, done that!
  • I just used my salt grinder, which has sea salt in it, to evenly add a little salt to the top of the candy
  • I tend to make my caramels and then freeze them until I'm ready to dip them. So, 1) remove from pan, 2) sample a small corner as you 'square' it up, 3) if the texture is right--firm, but still chewy, then tightly wrap in plastic and place in freezer bag, 4) place in freezer. When you are ready to make the candy, thaw overnight on counter.
Enjoy!

Later, Peeps!

9/10/13

Thawing the Freezer


Years ago we bought a small upright freezer. The reasoning was that the hubs didn't want to find me as a popsicle in a chest-type freezer some day when I fell in trying to get something out of the bottom!

I'm not that klutzy, just short . . . with little arms that can't reach anything.

Since I'm too lazy to go into the garage and take a picture, I just swiped this picture off the internet and this freezer looks amazingly like mine. Height-wise, it's slightly less than five feet high.

So, anyway, it's not a self-defrosting freezer and it needs to be defrosted every couple of years. I've been planning to do it for awhile, but I chose the day of my dentist visit to do this.

Partly because I had numb face, numb tongue, numb everything. I couldn't eat. I couldn't drink. And I certainly couldn't show my face in public!

So I turned off and unplugged the freezer, emptied the freezer items into some ice chests, got out the heat gun and went to town. . . oh, it helped that I put a baking dish under the front of the freezer to catch most of the melting ice.

About an hour later, it was frost-free, clean and dry.

I chilled it down before I started packing the stuff back in.

The most unusual product: rib bones--Oklahoma summer, remember? I don't put anything in the trash that will stink. If it won't go down the disposal, it goes in a freezer bag until the next trash day. . . but many trash days have gone by since we ate ribs. Put note on freezer door to remind myself for next trash day.

Found: Lentil soup, and homemade enchilada sauce.

Candy making stuff: the entire bottom shelf is loaded with Ghirardelli chocolate for fillings, caramels, and about 26 flavors of truffle fillings, caramels, and stuff.

Some of it is still good, while I need to make more of some flavors: Kahlua, Buttershots, Black Forest, Chambord, and Barenjager just to name a few.

Some of it, I'll probably trash: bananas foster caramel (didn't translate well), berry caramel (too buttery), maple walnut (too grainy), cherries jubilee (weird oily taste).

If you want to know the flavors that I will probably be making then go here, and scroll down past the afghan.

I'm starting to get excited about candy season, and these failures give me a chance to play with new flavors . .  .

Later, Peeps! I'm going to order some supplies and candy boxes and get to work!

12/14/12

Foodie Friday -- Reindeer Poop

So I promised you some reindeer poop, didn't I? Well, here you go:
Oh, darn, it's not available any more, guess I'll have to give you a recipe.

Reindeer poop is easy to make, well, actually it's the filling for peanut butter cups. For some reason, when I molded them as peanut butter cups everyone compared them to the gold standard--Reese's Peanut Butter cups. And let's just say they didn't make the grade.

But when I formed them into balls and dipped them into chocolate . . . instant raves!

Humans are so funny.

Reindeer Poop

18 oz. jar of peanut butter (I use creamy Jif)
1 (1/4 pound) stick butter, melted
1 pound powdered sugar

Stir peanut butter and melted butter together. Add powdered sugar in increments and mix by hand until blended--actually, you have to put your back into it and KNEAD the dough. Roll into small balls (1/2-inch diameter or hazelnut size) and dip into chocolate. Set on waxed paper to dry. Trim excess chocolate.

That's it, my friends.  Easy-peasy. Buy some cheap Christmas mugs, make a batch of reindeer poop and polar bear poop, place some of each into mug, wrap with Christmas decorated cello paper, and voila, instant Christmas gift! Well, not instant, but easy.

Hints & Suggestions:
  • When mixing the peanut butter and butter together, it gets sloppy. But then again, when you add the powdered sugar, it can become a Winter Wonderland in your kitchen. Jus' sayin'. . . It's not like I've ever done that, right?
  • Though I'm a HUGE fan of creamy Jif, it does have a higher than average sugar content than other brands. The problem comes if you need to stiffen the dough a little bit--it makes it very, very sweet. Next time, I make these, I'm going to decrease the butter by a tablespoon or so and see what happens.
  • If you have to refrigerate the dough prior to dipping it in chocolate, it can bust through the bottom layer of the chocolate when it warms up. When this happened to me, I added another step of dipping the bottom in chocolate and letting it dry, chocolate facing up, before completing the dipping process. They weren't really round when I finished, but it worked.
  • I use Merken's chocolate to dip any of my candy, but you can buy numerous types of candy coat or almond bark at various stores to do the same thing.
  • The peanut butter mixture will eventually infuse the peanut butter flavor into your dipping chocolate. You don't want to reuse this chocolate for anything else. Try to use the minimum amount of chocolate you need to dip.
  • If you have extra chocolate, it does freeze well. Just warm the chocolate left in your dipping bowl about 15-30 seconds, scrape out of bowl onto a piece of waxed paper. Yes, it looks like a big poo. Let it solidify. Break into pieces and store in small freezer bag until next year. It freezes quite well.
That's all I can think of for now!

Later, Peeps!

12/7/12

Candy Making update

Well, folks, any new recipes will be delayed due to my continued candy making.

--Yes, I'm getting very tired of making candy. If I could simply invent fillings and let someone else do the hard work of filling them, then I'd be all over that.

So far, I've made 55 pounds of candy and have about 10 more pounds to make before I spend the day packaging 50+ boxes.

I'm slowly getting there. Today, I should be able to finish.

I have to make five or six more molded chocolates: Kahlua, Berry Caramel, Caramel, Bananas Foster caramel, Grand Marnier caramel, and Cherries Jubilee.

Next week, I'll give you an updated version of what I made.

Later!

10/5/12

Foodie Friday -- Lemon Fudge X2


I found a recipe for Key Lime fudge and I changed it around to make the lemon fudge. The shortbread crust is my idea. Both crusts tasted good, but they are both too thick and tough, so this is the reduced version of the recipe. The first lemon fudge was slightly too creamy and less ‘fudgy’ in texture, so I tried to use a boiled sugar type of fudge. The results were adequate, but the recipe has been tweaked to reflect the changes.
If you don’t want to make this, then by all means come by my house as I have plenty of fudge in the freezer! Or you could simply go online and buy someone else’s stuff.

Lemon Fudge with Shortbread Crust


Crust:
¾ cup flour
1/3 cups sugar
1 Tbls lemon zest
1 Tbls. lemon juice (one small lemon)
5 Tbls. butter.

Fudge:
20 oz. white chocolate, coarsely chopped
14 oz. can sweetened condensed milk
¼ tsp. sea salt
3 Tbls. lemon zest
1/3 cup lemon juice (2-3 small lemons)

Preheat oven to 375 degrees. Mix first three ingredients together. Sprinkle with lemon juice. Cut butter into pieces and add to flour mixture. Blend with fingers until crust resembles a coarse meal. Press evenly into prepared 9 x 9 pan, lined with aluminum foil and sprayed with cooking spray. Bake in oven for 10-15 minutes, until lightly browned.

Prepare filling

Finely chop white chocolate. Place chocolate in microwave safe bowl. Add sweetened condensed milk and salt. Microwave chocolate in 30-45 second increments, mixing after each interval, until smooth, about 3 minutes. Add zest and juice. Carefully blend in juice until incorporated. Pour fudge on top of cooled crust. Smooth top. Refrigerate 2-3 hours until firm.

Hints & suggestions:

·         Use food processor to chop chocolate
·         Zest lemon before juicing it
·         Use Baker’s (grocery store $3 for 6 oz) or Ghirardelli white chocolate (found at Sam’s Club 2.5 lbs for @$8) in 2012.
·         Set out at room temp for about 1 hour prior to cutting. Crust might be tough, but it does soften up.
Cooked Lemon Fudge with Shortbread Crust

Crust:
¾ cup flour
1/3 cups sugar
2 Tbls. corn starch
1 Tbls lemon zest
1 Tbls. lemon juice (one small lemon)
6 Tbls. butter.

Preheat oven to 375 degrees. Mix first four ingredients together. Sprinkle with lemon juice. Cut butter into pieces and add to flour mixture. Blend with fingers until crust resembles a coarse meal. Press evenly into prepared 9 x 9 pan, lined with aluminum foil and sprayed with cooking spray. Bake in oven for 10-15 minutes, until lightly browned.

Fudge:
Zest from 4 lemons (1/2 cup zest and 2/3 cup juice)
3 cups sugar
½ cup heavy cream
20 oz. white chocolate, chopped fine

Place first 3 ingredients into medium saucepan and heat over medium heat. Stir until sugar is dissolved. Place candy thermometer into pan. Add white chocolate and stir until melted. Heat fudge until it reaches 240 degrees F. (firm ball stage). Remove from heat and pour into heat resistant glass bowl. Cool until temperature reaches 110-115 degrees, about 1 hour. Beat with mixer for 5-10 minutes or until mixture firms. Pour over cooled crust spread evenly. Chill in refrigerator 3-4 hours.

Hints & suggestions:

·         I never could get it to firm up and gave up about 10 minutes. Don't worry about it if it stays liquidy.
·         White chocolate isn’t really chocolate, it’s cocoa butter and it doesn’t always play by the same rules
·         White chocolate tends to be a little ‘softer’ than regular chocolate, resulting in a creamier and stickier fudge.
 
Enjoy, Peeps!


9/21/12

Foodie Friday -- MAG's Decadent Fudge


I’ve been on the hunt for an Old Fashioned Fudge recipe for quite some time now. I’ve tasted loads of fudge over the years and most beaten fudge recipes are grainy and not flavorful. So why do people attempt to make it? Sorry, but attempt is the key word here. So many fails have been passed off as fudge.

Well, all I seem to find is some version of what I call Cheater’s Fudge. Now, don’t get me wrong, this is a perfectly wonderful recipe--quick and easy to prepare. But I wanted to go “candy thermometer” old school to see what all the fuss was about. The problem I ran across was the recipes that did involve cooked sugar couldn’t agree on the basic temperature, and WHY on earth did you have to let it cool before you beat it?

Of course, I figured it out.

The one ingredient you have to have as a maker of traditional fudge is PATIENCE. Yes, my friends, just like when make caramel you have to wait for the right moment to act. There is a valid reason for letting it cool down.

When you make fudge, the reason you have to wait to beat the mixture is all about chemistry. You know, the class you slept through in high school and college.

If you beat the fudge when it is too hot, the sugar particles will reform and attract more sugar particles to form larger particles until it cools enough to stop the process. This is one reason for the grainy, crunchiness of less than-stellar-fudge. If you wait until the mixture has cooled enough then the sugar particles will stay small, resulting in a smooth texture.

I found a recipe and then proceeded to change it up for real world usage.

Here we go:

MAG’s Decadent Fudge


3 cups sugar
1 Tbls. Hershey’s cocoa powder
Large pinch of sea salt
3 Tbls. orange blossom honey
1 cup heavy cream
4 oz. unsweetened chocolate (Baker’s), finely chopped
2 tsp. vanilla extract (Madagascar Bourbon)
4 Tbls. chilled butter, cubed

Line 8 X 8 pan with foil, spray with butter-flavored cooking spray.  Set aside. In heavy sauce pan, whisk sugar, cocoa powder and salt together, and place over medium heat. Add honey and cream, stirring until smooth. Add chocolate. Stir until chocolate is melted and sugar dissolved. Time for the candy thermometer! Increase heat to high, and boil mixture until it reaches the soft ball stage at 236 degrees. You can stir the mixture, but DO NOT SCRAP THE SIDES (sugar crystals and all that jazz).

Pour into glass bowl. Dot top with cubed butter and vanilla, and let cool about 45 minutes. Using a clean candy thermometer make sure the temperature is between 110-120 degrees.  Using a hand mixer, beat until everything is incorporated and increase speed. Beat fudge until it loses its shiny cake batter look and turns chunky-ish, about 3-5 minutes. DO NOT OVERBEAT.

Scrap fudge into prepared pan. Press flat with hands. Score the top into 1-inch squares with pastry scrape or knife. Let cool.

Sample the fudge remaining on the beaters. Groan with delight.
 

Hints and suggestions:
·         Sorry, Martha Stewart, but most people can’t afford Valrhona or Callebaut chocolate. They simply have Hershey’s, Nestles or Baker’s chocolate in their cabinet. I used Valrhona once in a recipe, not worth the $$.
·         Martha was all hard-core about buttering parchment paper, too. Love you, Martha, but really? Aluminum foil sprayed with butter Pam works just as well!
·         And not a fan of light corn syrup either when I have honey on hand. I’m a serious fan of orange blossom honey!
·         And don’t hand chop the chocolate if you have a food processor, just whir it around until the largest chocolate pieces are about the size of a pea.
·         Score the outside edges off first before you make the squares, then all the pieces look good!
 
Enjoy, Peeps!


9/7/12

Foodie Friday -- Gingerbread Truffle candy

So I've been making candy over the last few days to donate to the Writer's Police Academy.

No, I'm not attending. No, I don't write cop stories. I'm simply donating two boxes of candy to be auctioned off for a good cause. My little donation is nothing compared to the big stuff they have.

1 lb. assorted truffles

1 lb. sea salt caramel

 
So while I had to make truffles, I checked out my inventory and then proceeded to make enough of various flavors that were on the lean side. I now have 15 different flavors of truffles in my freezer waiting for my Christmas candy making.

In no particular order, they are:

Peppermint Schnapps, Strawberry Margarita, Frangelico, Amaretto, Whiskey Toffee, Baranjager (honey liquour), Key Lime, Chambord, Buttershots (butterscotch), Rum Raisin, Grand Marnier, Black Forest (cherry), Limoncello, Porto, and Gingerbread.

The gingerbread flavor is my newest invention. I tweeted the idea the other day and had a positive response to it, so I made it today. I had hubs taste the filling when he came home from work. His response, "How did you get gingerbread in there?"

Schwing! Outta the park!

As you know, I do a lot by sight and taste and adjust accordingly.

Here's the 'recipe'.

Gingerbread Truffle Candy filling
 
Grated ginger root
Vodka
Sugar
Cinnamon
Allspice
Nutmeg
Molasses
Cream
White chocolate
Dark chocolate
 
In heavy medium saucepan, add one cup of vodka, @ 1/2 sugar and about 1 Tbls grated ginger root. Bring to boil and add dash of nutmeg and allspice, 2 Tbls of Molasses and @ 1/4 tsp. cinnamon. Simmer until mixture reduces and becomes syrupy. Add 1/3 cup cream and stir. Add chopped white chocolate until thickens .
 
Taste constantly and adjust flavors. This time the concoction had a disgusting color, so I added a little Milk chocolate. It improved the color, but changed the taste. I added a little more molasses, fresh grated ginger and a dash of cinnamon.
 
You'll just have to trust me that these are really, really good!
 
Later, Peeps!